Remodeling a bathroom can be fun but also a nightmare. My home isn't the newest on the block but that was the charm that drew us to it. I knew I was going to do a lot of work and make it something we like. I'm in the process of remodeling the bathroom and it's been a lot of work (especially since I'm doing it alone) but it's fun to see it coming together. I'm at the stage where I need to lay down the cement board, add a few studs for shelves/ towel bars and insulate the ceiling. The plumbing and electric is pretty much complete (except for a small change).
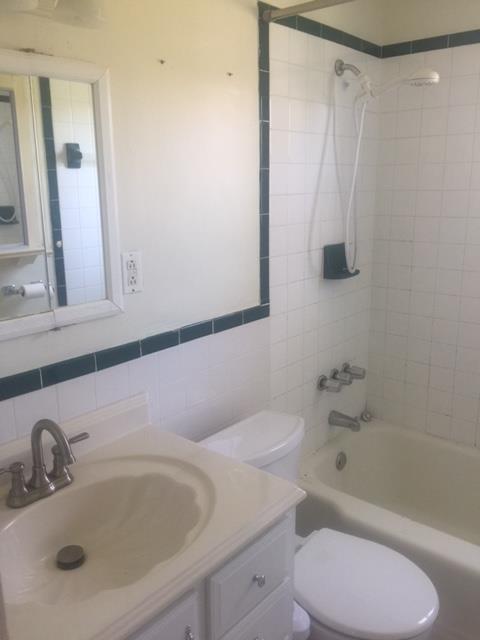
The old bathroom...quite dated and not our style.
Hated this mirror...
Seashell sink that had to go!
Ahhh....now we are getting somewhere. So the framing is insane and unfortunately due to structures on the opposite wall, I had to attach new studs to old. I noticed a free floating stud that looks new in the center of the pic (I didn't add this..) The tub is cast iron so that was a chore to get out by myself.
New plumbing is in and support placed for the pedestal sink. Below the bucket is a hole from the original toilet location! It was hidden under that seashell sink... I had to reroute the drain and water lines.
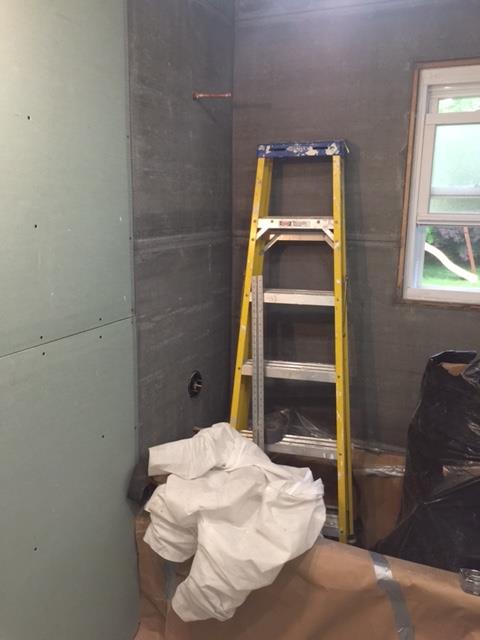
Ahh.. much better. I smashed the tub and repaired the subfloor.
New single valve shower body installed.
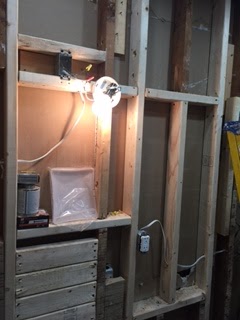
temp lighting until I was able to install the ceiling lights.
Much needed electric upgrade. I ran a new line for the vanity light, installed a new exhaust fan/ ductwork and added 4 can lights.
Removed the old insulation and replaced it. I'm still finishing up insulating since the electric is complete.
New lights in and just need to get in the attic to attach the exhaust duct. I ran out of romex and will be replacing the straight cable in the first bay to the left. I used a scrap piece since I needed light at that time. I need to leave some slack but ran out of time to pick some up. My brother would laugh at me if he saw that I did this since we just spoke about leaving slack (which I normally do) I doubt he reads this but I was wrapping up for the day and taking a trip to home depot was not something I wanted to do. I'll correct this during the week. Next step, order the tub, close the walls and tile. Stay tuned!
**Update, fixed the electric and insulated.
I decided to add 2x4's right above that box on the floor. That is just in case we decide to put shower doors and will have the support needed on each side for it. Cement board is down, all plumbing, electric and structural support is complete and waiting on the tub!
Lastly, since the walls are open, I like to make sure I have support for the towel bar, toilet paper holder and any shelves we will put up. Although it looks like Frankenstein in there, it will provide great backing for anything we need. The last thing you want is to have to use plugs to hold those things up and rely on sheetrock to hold it. If the walls are open, spend the time adding the support.

In two weeks we will have the tub and business will continue as usual. Everything must now wait until it arrives. We decided on Kohler for the tub, sink and toilet since we really like the boxy, straight lines. If you're going to remodel, don't go for the cheapest stuff. You really do get what you pay for when it comes to these things. I made the decision to go with Acrylic for this one. Cast iron is just too heavy for me to deal with and when properly installed, this thing is going to be solid. Setting this in a bed of 2" mortar is key and a step that is frequently overlooked. If your tub is creaking, now you know why.
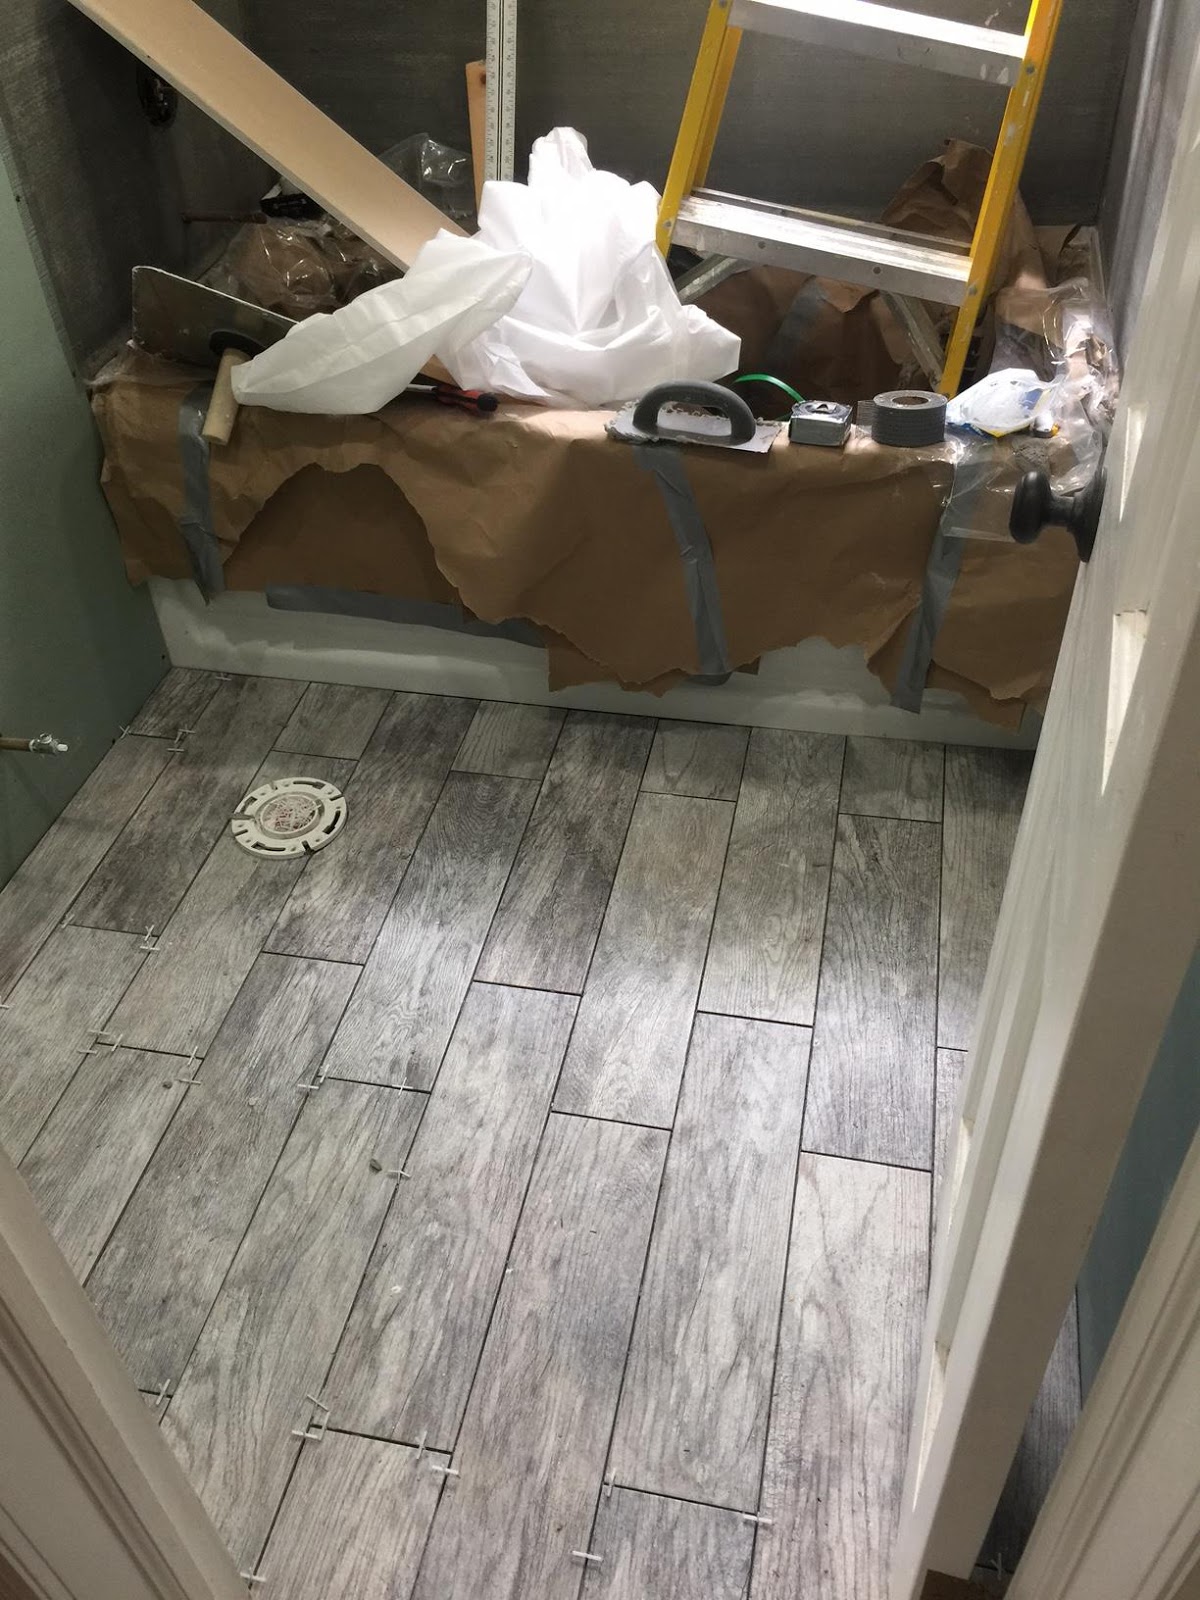
Update** Tub is in!
When I roughed in the plumbing, I anticipated putting in the same size tub but after doing some research, we decided on a Kohler soaking tub. This meant, I had to redo the plumbing to meet the standard for this one. Next stop, walls!